Decision Tree
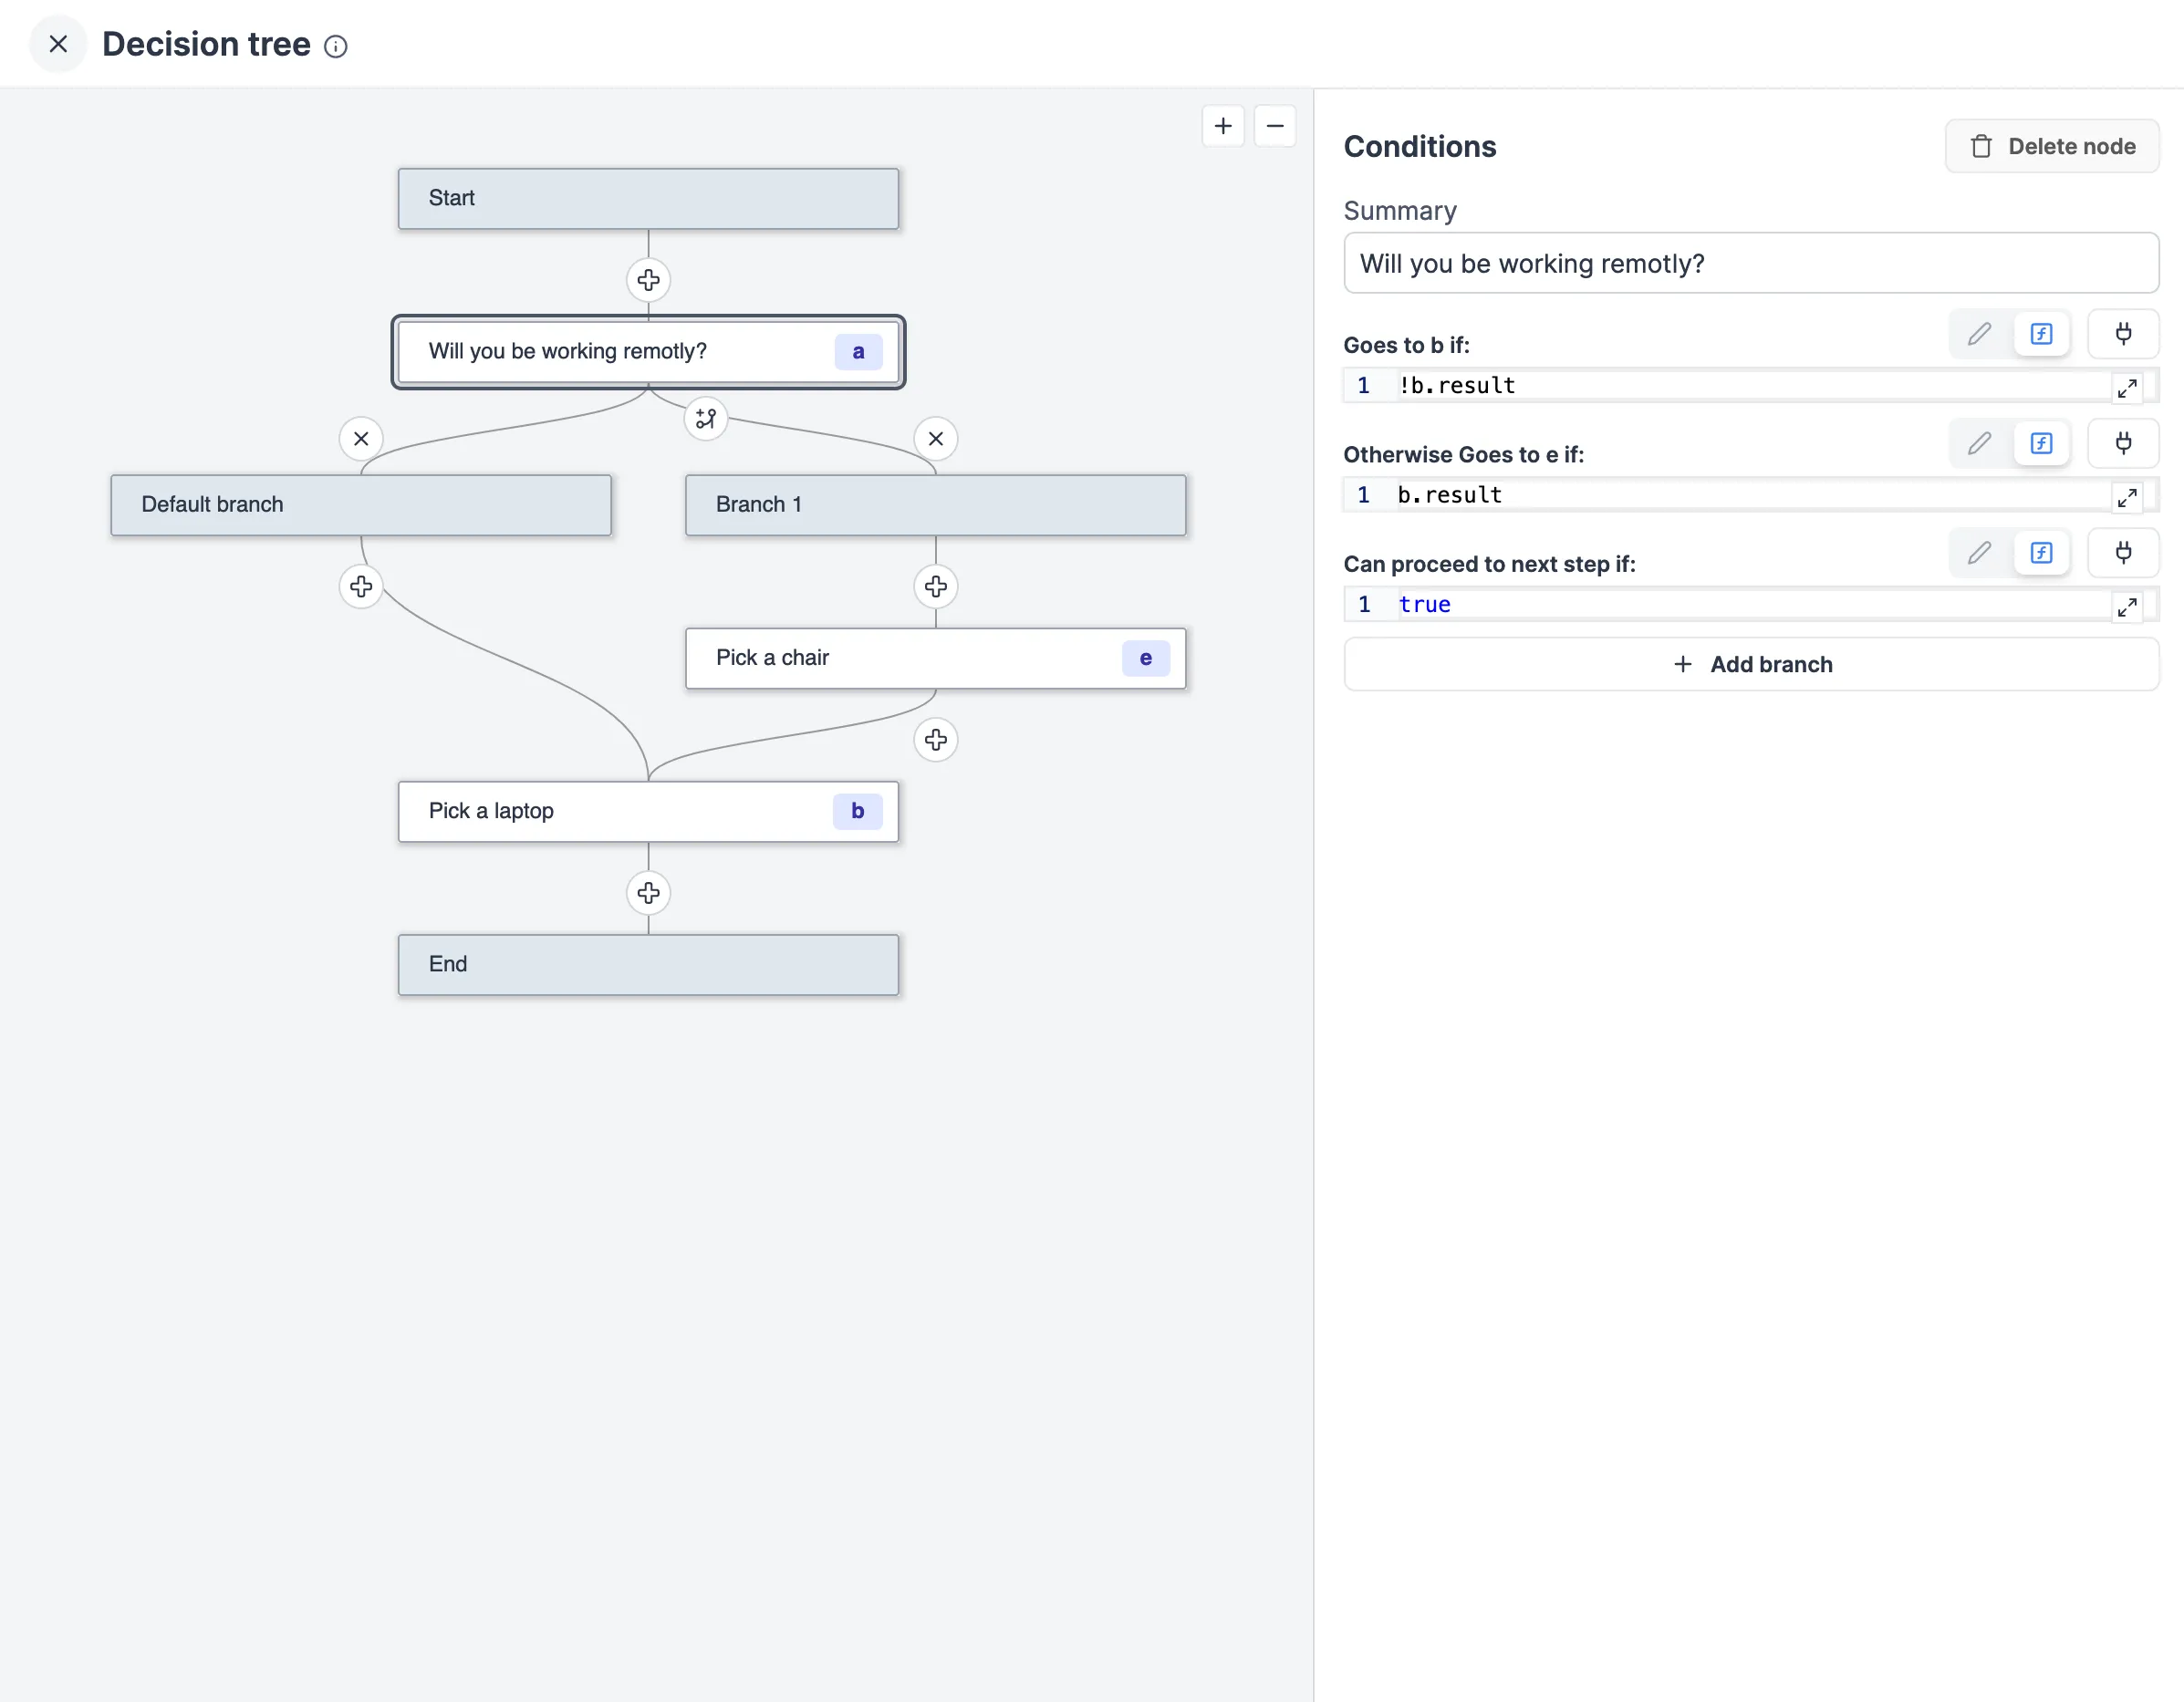
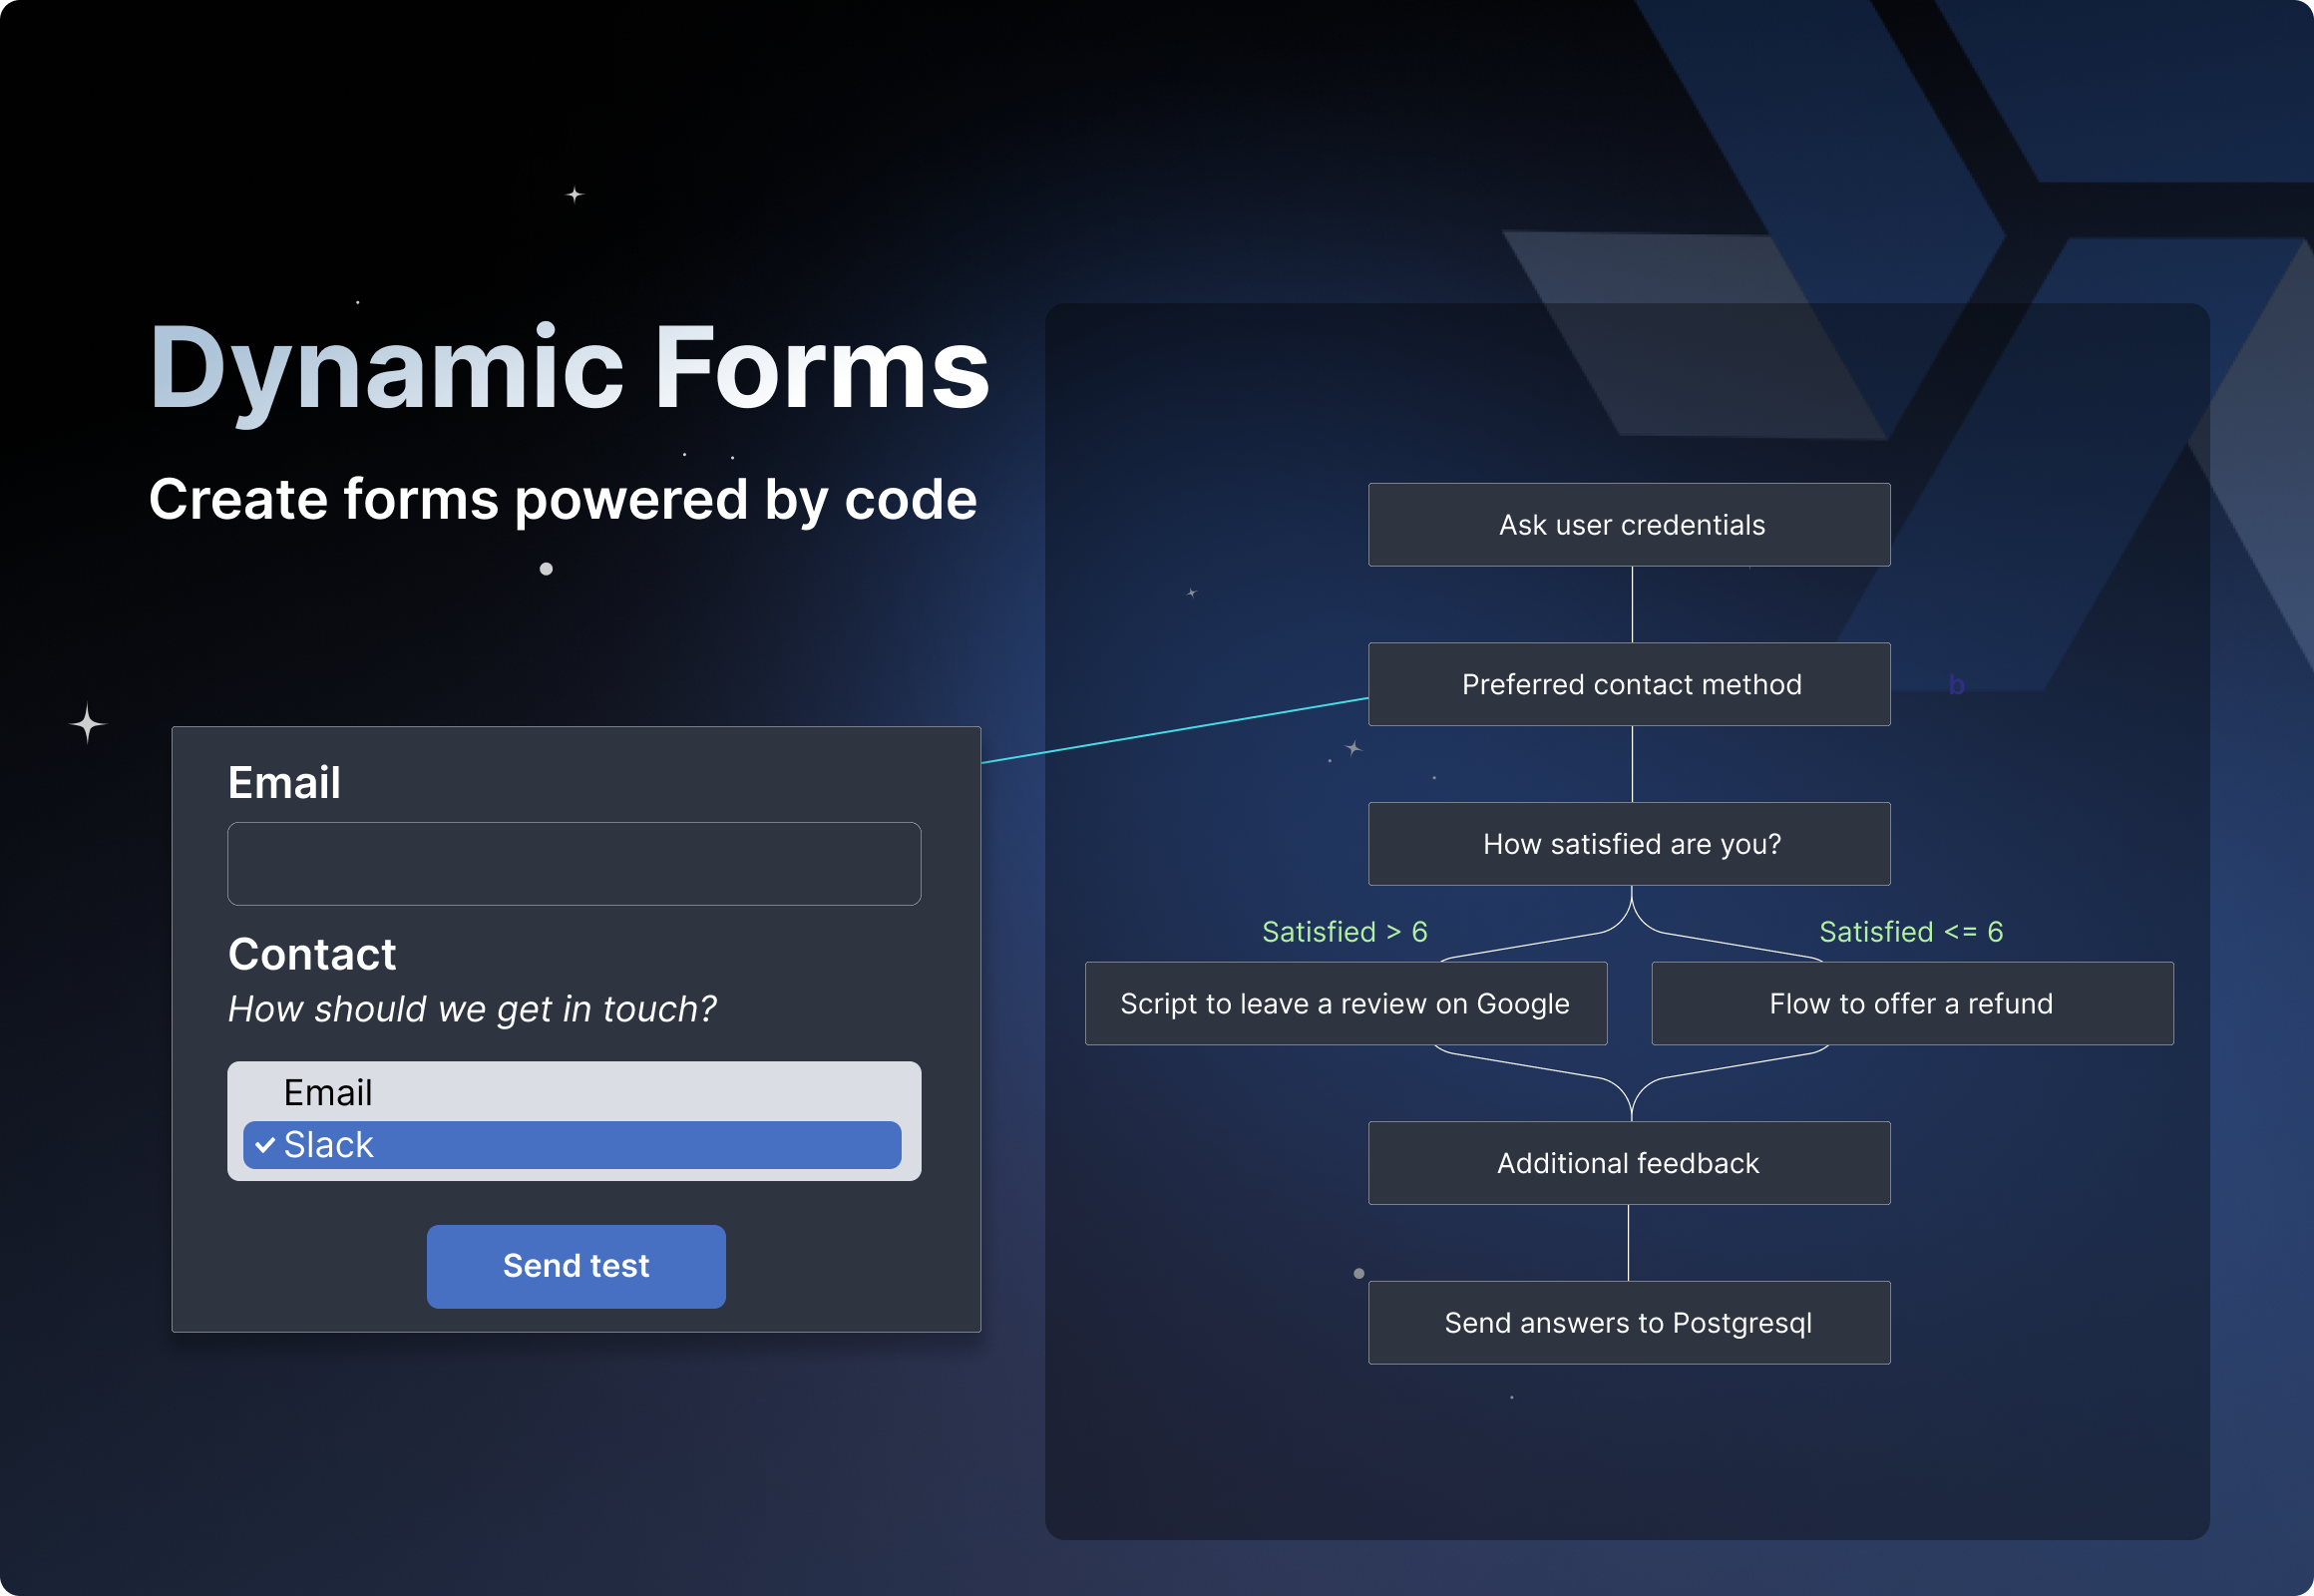
This app component allows you to create a decision tree controlled by a flow-like structure. Each node in the tree represents a decision point with a dedicated subgrid and can lead to one or more subsequent nodes based on specified conditions.
The full tutorial is available on the Windmill YouTube channel.

Flow actions
You can directly interact with the flow using the following actions:
- Add a node: Add a new node to the flow.
- Delete: Delete the flow.
- Add a branch: Add a new branch to the flow.
- Delete a branch: Delete a branch from the flow. It deletes the node and all its children.
Node settings
Each node has the following settings:
- Summary: The summary of the node.
- ID: The ID of the node.
- Conditions: The conditions that select the next node. The conditions are evaluated in the order they are specified. The first condition that evaluates to true is used to select the next node. When we have only one condition, the condition is always true and the node is always selected.
- Allowed: Whether or not we can go to the next node. If false, the next button is disabled.
Node actions
Each node has the following actions:
- Add a branch: Add a new branch to the node.
- Delete: Delete the node.
Component actions

The component start with a root node. The root node is the first node of the decision tree. It is the only node that has no parent. The root node is always selected when the component is loaded.
The component has the following actions:
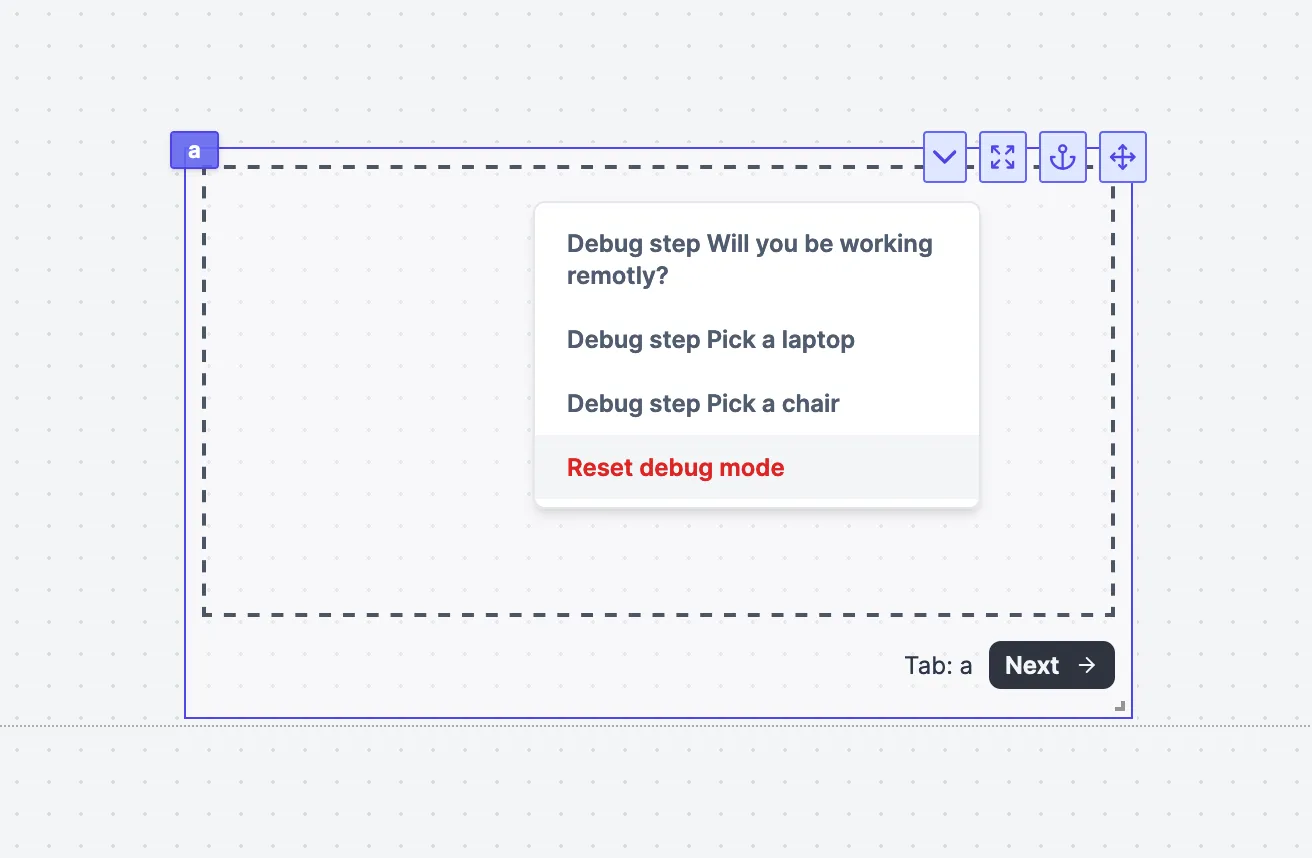
- Next: Go to the next node. Use the conditions of the current node to select the next node. Is disabled when the current node has no next node or when the current node is not allowed to go to the next node.
- Previous: Go to the previous node. Goes to the first parent node it can find.
The current node is displayed in the component next to the actions.
Component debug
Using the debug menu, you can jump to any node in the decision tree. This is useful to test the different branches of the decision tree.
setTab
To bypass the decision tree logic and directly set a node that is not adjacent to the current node, you can use the function setTab('x', k)
which allows you to directly set a tab (k) within a component ('x').
This works for all components that have multiple tabs (Tabs, Conditional Tabs, Sidebar Tabs, Invisible Tabs, Stepper, Decision Tree).
Example
In this example, we create a decision tree to make an onboarding process.
The app is available on the Hub: Onboarding example.
Advanced tutorial
Advanced tutorial at:

For more details on the App Editor, check the dedicated documentation or the App Editor Quickstart: